


Finding good forest photographs is a challenge. So often we wander through the woods and see some notable scenery, only to find later on that the photo we captured does not convey what we saw. Most of these images are a disordered mess of tree trunks, leaves, and branches that obscure the point of interest. I think this is because when we see something with our eyes, our brains automatically filter and process what we see to highlight the subject. Its an evolutionary function that helps us perceive threats or potential food sources. The brain accentuates what draws our attention, while muting the distractions. The camera, however, captures the light without discernment. Viewing these photos later on, we see everything that was there, without a filter, unless it is later crafted in post processing.
I find that my best forest photos have a couple of elements in common. First, there is a color or light contrast that lets the subject pop. Second, the subject has to stand out from the surroundings in some way.
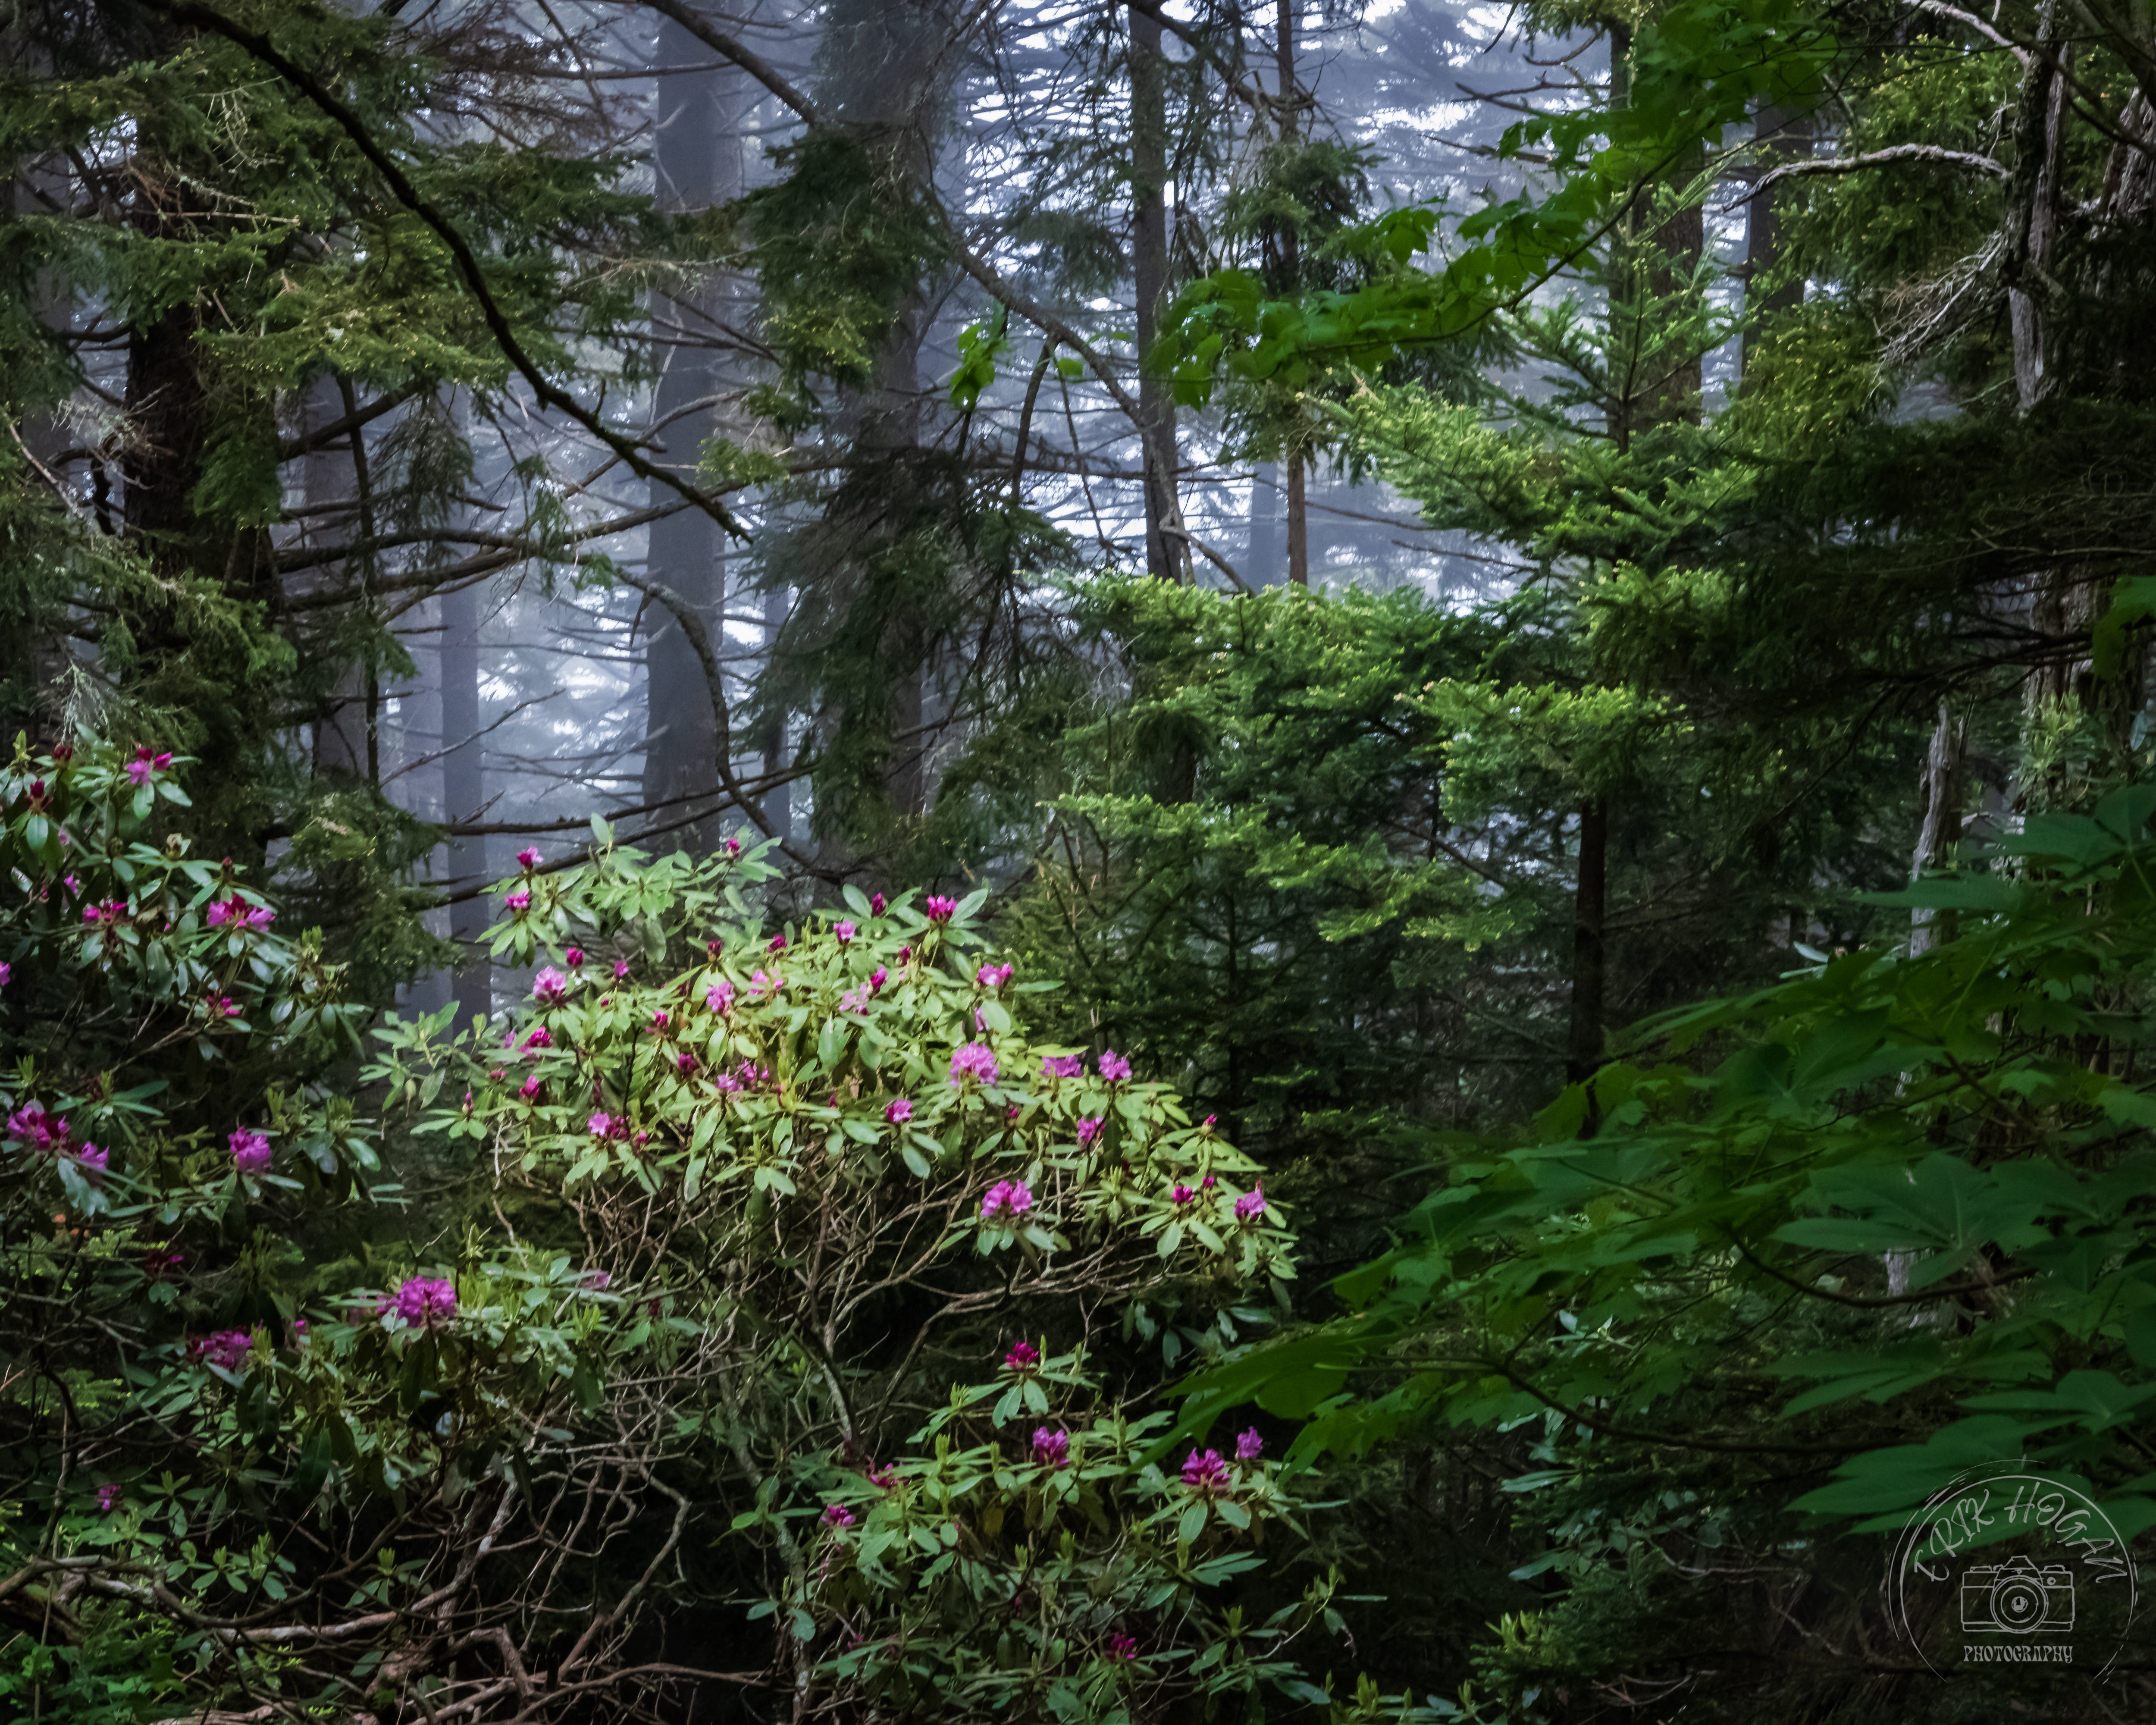
The image above is from the Ivestor Gap Trail in the Shining Rock Wilderness. A dense fog rolled in on the third morning for my 6+ mile return hike to the trailhead. I saw this catawba rhododendron growing toward a slight gap in the forest canopy and immediately stopped to photograph it. The misty background of the woods gives the final picture a primordial feel while allowing the catawba to emerge as the heart of the image. Sadly, this photograph is a failure. I loved it enough that I processed it anyway, to present here for some lessons learned.
As I mentioned, this was the third day of my trip and I was tired. The return was all flat or downhill, but it was a long trek. Once I arrived back at my truck, there would still be a 3 hour drive home. Rushed is an overstatement, but I was feeling the pressure of time. As I stopped to capture this scene I opted to shoot it hand held, rather that go through the effort of dropping my pack and setting up my tripod. The result looked good on the back of the camera, but the final image is fuzzy due to hand shake. It may not be apparent on a smallish screen, but with any enlargement of the image the blooms are blurry.
Here are the choices I made at the time. It was morning and with the fog and tree cover, still pretty dark. I had the camera settings adjusted generally for shooting hand held. For this I turn the shutter delay off and the camera’s shake reduction on. Maybe the shake reduction gives me a false sense of security. There was not enough of a separation of the flowers from the background to get a good bokeh (background blurr) with a wide aperture. So, I wanted to shoot at f11, hopefully for the best lens sharpness. However, this smallish aperture made the shutter speed way too long for shooting hand held. I tried to adjust for this by bumping the ISO up to 3200. This is very high, but I thought I could compensate for it with noise reduction in post processing. This higher sensitivity brought the shutter speed down quite a bit. A general rule here is that to keep the shutter speed at least at an inverse of the focal length of your lens. I zoomed in on this scene to about 55mm, so I should have taken the image at at least 1/55 of a second, if not faster. My settings were at 1/15 sec. In retrospect, I should have opened up the aperture a few stops to achieve this, but in the moment I hoped the camera shake reduction would cover the gap. I quickly moved on after the tiny image on the back of the camera looked good.
This photo was just good enough to present it here. I took several others of catawba blooms along the foggy trail that ended up being completely unusable. It was a hard lesson learned. When a scene or subject is good enough to make me stop, its good enough to stop long enough to get it right. There’s no going back to re-do it!
This next section is aimed more toward the non-photographer readers. Almost everyone likes to take photos of their own, so I’m offering a quick tip on how to improve your images, with whatever camera you are using.
So many photos of our trips, adventures, or moments involve the subjects in the center of the frame, looking at the camera. This results in the classic vacation snapshot photo. Hey, I’m not suggesting this is a bad thing, but we can make it a bit more interesting.
An elementary guideline of composition is the Rule of Thirds. Imagine your camera’s field of view and divide it into 3, vertically and horizontally. Your camera may have an overlay function to put this on the screen, which helps. The idea is simply to place your subject on one of the lines or intersections of thirds. If the subject is a person or animal, try to have them looking into the picture, rather than to the edge.

Have an interesting sky, but not much of a foreground? You can try putting the horizon line down at the bottom third-

Or if the scene is good, but the sky is bland you can minimize it by putting the horizon line at the top third-

These are just some very easy ways to adjust the framing and compositions of your photos. Try it out and I’d love to hear how its working out for you! Just remember that they are guidelines and sometimes the rules need to be broken!

I invite you to view more of my best photography here-
And, as always, if you’re enjoying these blog posts, please help spread the word!